The Secret to Correct Thread Tension in Machine Embroidery:
The Path to Perfect Stitches
Thread tension in machine embroidery is the factor that can provide success for quality, fault-free designs. Appropriately balanced tension between top and bobbin threads ensures professional appearances in embroidery and durability over time. So, what is "correct" thread tension, and how is it achieved? These are some discussions about thread tension and its importance in machine embroidery.
Thread Tension-What Exactly Is It?
The thread tension refers to the pull or resistance to which both the top thread and the bobbin thread are subjected while passing through the machine. If the tension is too tight or too slack, your stitches won't form correctly, and this could lead to puckering, looping, or uneven stitches.
The object is to balance the top and bobbin thread tensions so that the stitches sit flat on the surface of the fabric. Ideally, you want about a third of the top thread to be visible on the back of your work, while the bobbin thread stays mostly invisible from the front.
Why Correct Thread Tension Is Important
Stitch Quality: Proper thread tension yields smooth, even stitches that lie flat on your fabric. Improper tension causes a design to distort, pucker, or shift in its position, leading to a sloppy, amateurish appearance.
Design Durability: Balanced tension also ensures that stitches are well-anchored into the fabric, preventing premature unraveling or fraying.
Fabric Integrity: Delicate fabrics can tear or distort if the tension is pulled too tight; stitches may not hold if it is too loose, giving a sloppy result of the work.
Testing and Adjusting Thread Tension
Testing thread tension is a crucial process in getting the perfect balance, especially where there has been some variation in the type of fabric used, threads, or stabilizers. Well, here's how you could check and adjust your tension using steps:
Stitch a Sample: Before embroidering your actual design, stitch a small sample (Like a satin run) on the same fabric and with the same thread you will be using. Observe how stitches fall both on the front and back of your sample.
Assess the Stitch: From the front - The top thread should sit neatly without pulling the fabric.
You should now see, on the reverse side mostly bobbin thread, with about a third of the stitch width being top thread.
Adjust the Top Tension: If you find that the bobbin thread is showing on the front of your sample, the top thread tension is pulled too tight. You want to allow the top tension to loosen a little. To do this, you simply need to turn the dial in an anti-clockwise direction.
If the top thread is pulling to the back too much, then it is too loose. To tighten it, turn the dial clockwise.
Adjust the Bobbin Tension: While most embroidery machines have preset bobbin tension, there are times you will need to adjust it. If your bobbin tension is not fixed, and thus adjustable, take a small screwdriver and make an adjustment based on your results.
Repeat: Continue testing till stitches are even and attractive from front and back. Take your time and make micro adjustments after each test.
Factors Affecting Thread Tension
There are many influencing factors in thread tension, and therefore, checking and adjusting becomes very important, which are as follows:
Type of Fabric: The thicker or denser the fabric, the tighter the tension should be, and vice versa. Delicate fabrics require loose tension to avoid damage and puckering.
Thread type: Various threads, depending on their types, such as polyester, rayon, metallic threads, may act differently. Commonly, metallic threads require a bit looser tension since they can be really delicate.
Needle size: Sometimes, the size of your needle can affect how the thread is passing through the fabric. If you are using thick threads, for example, you might consider using a larger size needle to reduce tension problems.
Stabilizer: The type of stabilizer you are using-cut-away, tear-away, or water-soluble-can affect thread tension. For example, heavier stabilizers may require tighter tension.
Troubleshooting Common Tension Problems
Puckering: This occurs when the top is pulled too tight and the fabric scrunches up around the design. Try releasing some of the top thread tension, and check that the stabilizer being used is sufficient for the fabric being used.
Thread Breaking: If the top thread continues to break, that is usually the result of tension that is too tight. Loosen the top thread tension slightly and double-check that the needle size is suitable for your thread.
Loose Stitches: If your stitches appear loose or loopy, it is because the top thread tension is too loose. Set the tension one notch tighter and again check threading for problems like a misaligned bobbin or perhaps your machine is threaded incorrectly.
Finally
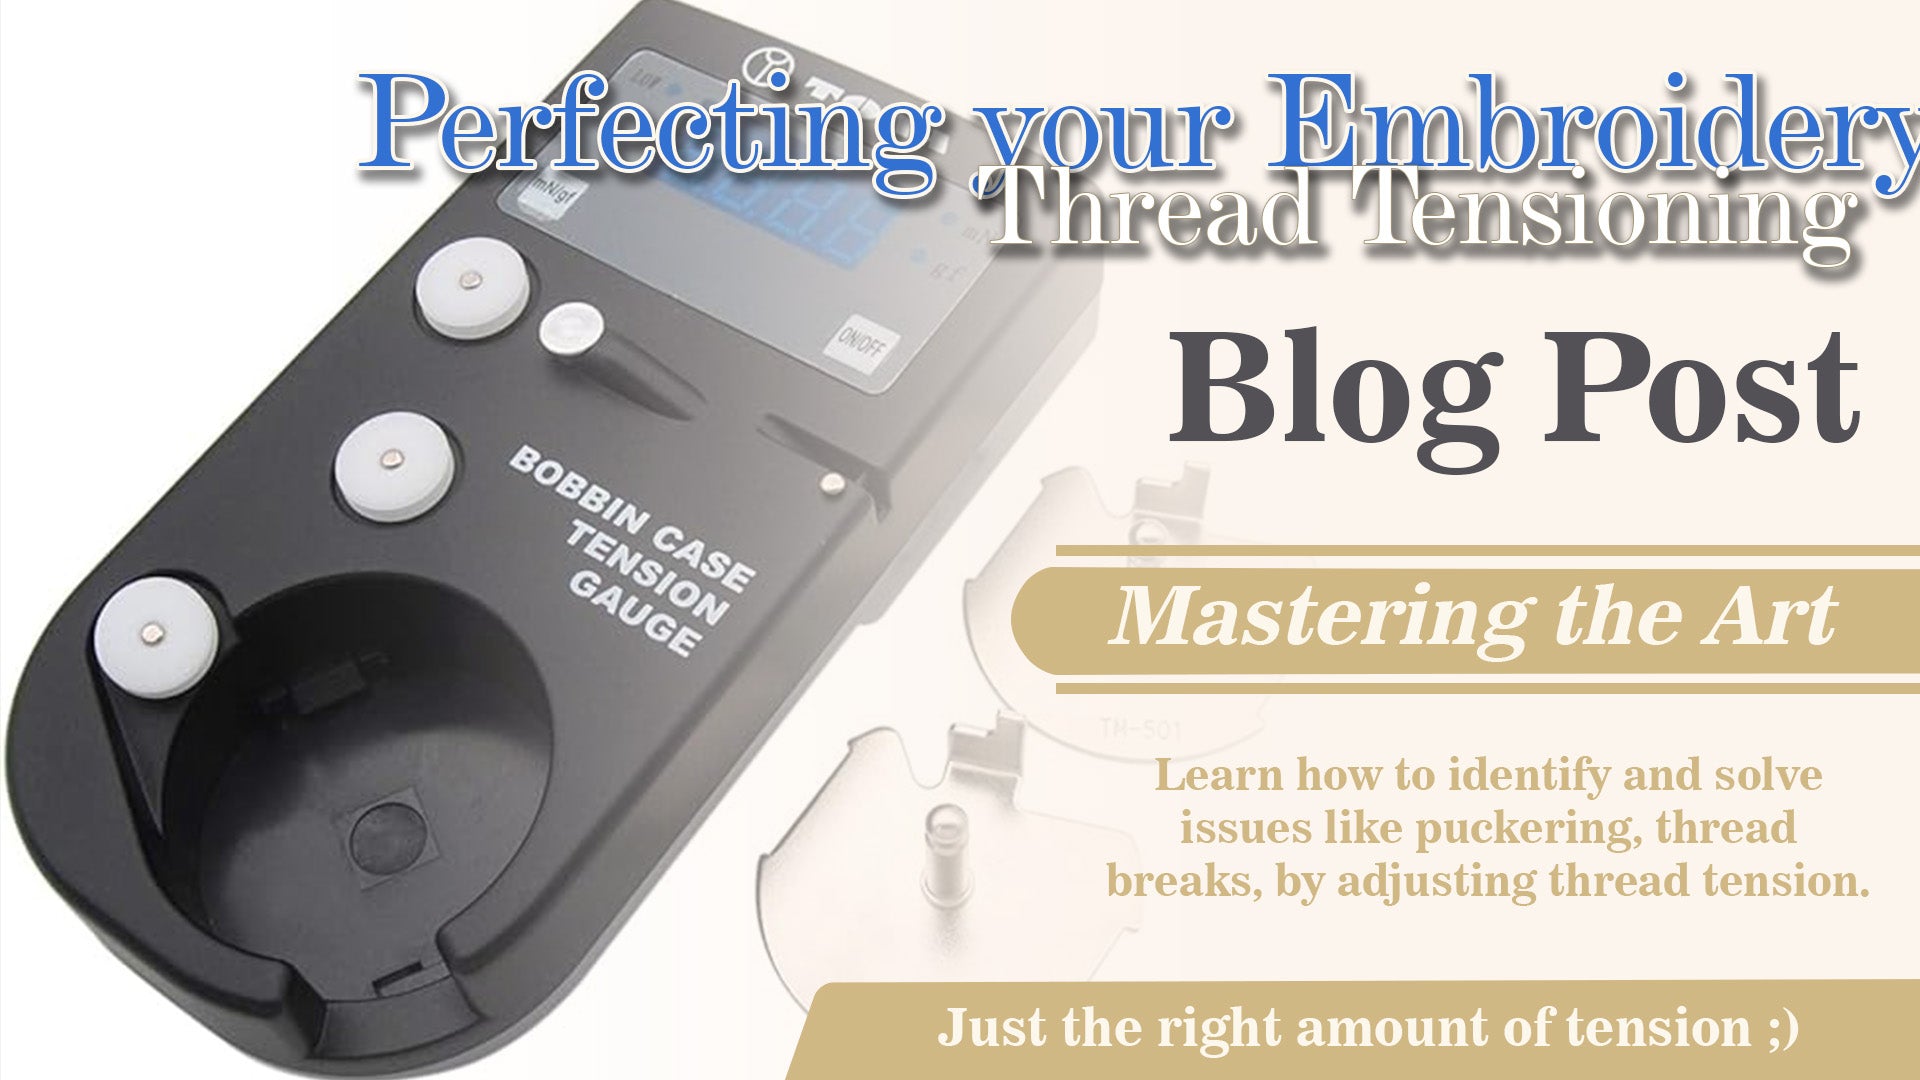
Using a thread tension gauge takes the guessing out of the equation, that's why we recommend getting a gauge like the Towa digital tension gauge. This tool has been invaluable in our sewing room and highly recommended. They also make a mechanical one.
Correct thread tension is part art and part science, especially when it comes to machine embroidery. Although it is quite tempting to assume your machine will automatically do the right settings, fine tuning tension can provide a crisp, professional, long-lasting design. Always test on a scrap piece of fabric; remember, small tweaks can make a big difference in the final result. Mastering the thread tension gives the stitches a much smoother appearance.


1 comment
Mary Esser
Hi,
I own a tension gauge for my 10-needle machine, love it.
My question, is the Towa digital tension gauge, would it work for my Brother Luminaire machine? I did not see anything about the size of bobbin needed for this machine.
Thank you so very much.
Have a beautiful day.