

Machine embroidery is a captivating art form that allows you to transform plain fabrics into stunning works of art. Whether you're looking to personalize garments, create home decor items, or delve into the world of crafts, machine embroidery offers endless possibilities. If you're new to this exciting craft, this beginner's guide will help you get started on your machine embroidery journey.
-
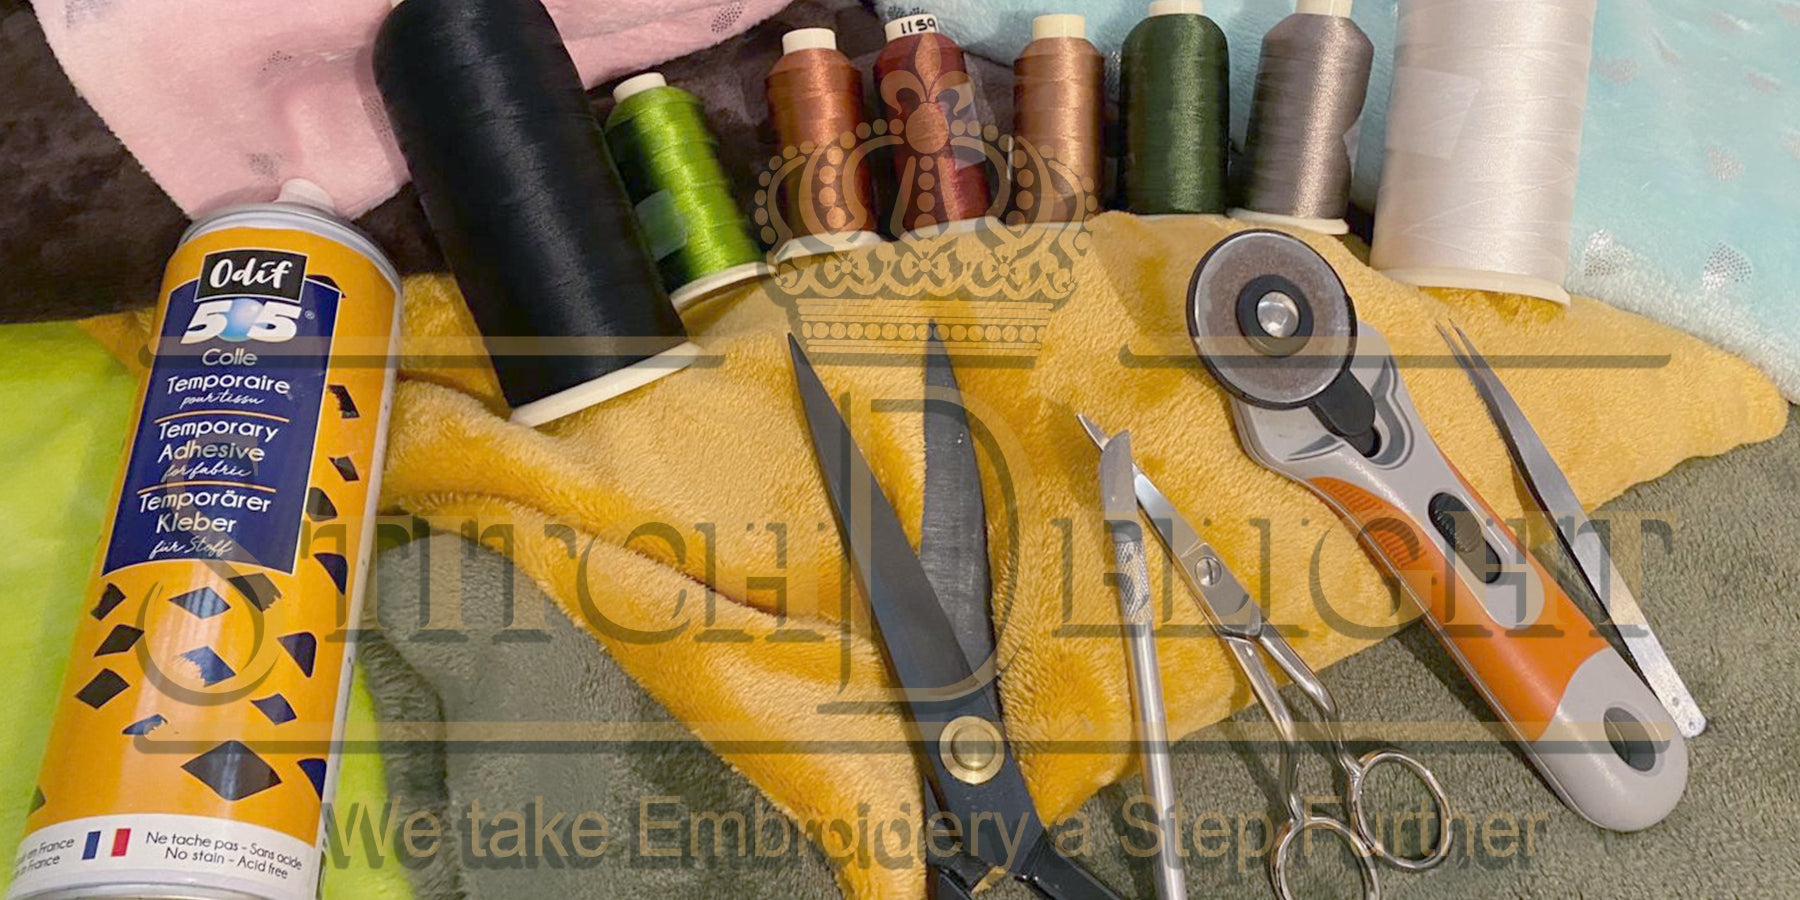
Familiarize Yourself with the Equipment: To begin your machine embroidery journey, it's essential to become familiar with the necessary equipment. Start by investing in a quality embroidery machine that suits your needs and budget, we recommend a machine that can do a minimum of 6x10" as most ITH project you'll want to do once you have enough experience uses 6x10" or larger. Research different models, consider their features, and read customer reviews to make an informed decision. Additionally, gather supplies such as embroidery hoops, needles, stabilizers, and, of course, embroidery threads(Here's a link to a thread converter). Compare Multi needles versus Single needles. The multi needles allows you to thread your machine with the various colours which you then program to automate colour changes based on the design's colour chart provided with the design.
-
Choose the Right Designs: Embroidery designs are the heart and soul of machine embroidery. As a beginner, it's best to start with simpler designs and gradually progress to more intricate ones. Simpler designs can just be an image with you stitch onto garments, linen or towels, where more intricate designs will be ITH projects like Book Covers, Oven Mitts or even 3D Lace. Explore online platforms that offer a wide range of embroidery designs, both free and paid. Once you've selected a design, download it in a compatible file format for your embroidery machine. Stitch Delight provides embroidery files in 9 popular formats: ART, DST, EXP, HUS, JEF, PES, VIP, VP3 and XXX (You'll have access to all of them from your account)
-
Prepare Your Fabric and Hoop: Prepare the fabric you'll be embroidering on by washing and ironing it to remove any wrinkles or residues. Next, place your fabric in the embroidery hoop, ensuring it is taut but not overly stretched. This will provide a stable surface for your machine to embroider on. Checkout our Blog Post on Fabric Storage
-
Understand Stabilizers: Stabilizers are essential for machine embroidery as they provide support and prevent distortion during the stitching process. There are different types of stabilizers, such as tear-away, cut-away, and wash-away. The choice of stabilizer depends on your fabric and design. Experiment with different stabilizers to achieve the desired results.
-
Thread Your Machine: Threading your embroidery machine correctly is crucial for successful stitching. Refer to your machine's manual for specific instructions on threading. Ensure the thread is securely threaded through the machine's various guides, tensions, and the needle. It's also important to use the appropriate embroidery needle size and type for your fabric and thread. Checkout this blog post on the various Types of Threads
-
Test and Adjust: Before embroidering your final project, it's wise to conduct a test run on a scrap piece of fabric. This allows you to check the tension, stitch quality, and ensure the design fits within the hoop's boundaries. Make necessary adjustments to the thread tension, stitch length, or design size until you're satisfied with the outcome.
-
Start Embroidering: Once you're confident with the setup and adjustments, it's time to start embroidering your chosen design on the actual fabric. Place the hoop onto the machine, align the needle with the starting point of your design, and lower the presser foot. Double-check that the fabric is secure and that the needle won't hit the hoop. Start the embroidery process and monitor the progress. Having trouble with thread tensioning? View our post on a fix.
-
Finishing Touches: After the machine completes the embroidery, carefully remove the fabric from the hoop. Trim any loose threads and gently press the embroidered area on the reverse side to set the stitches. If necessary, you can rinse away water-soluble stabilizers or follow the instructions for other types of stabilizers.
-
Explore and Learn: Machine embroidery is an ongoing learning experience. Expand your skills by trying different techniques, experimenting with various threads and fabrics, and exploring advanced features of your embroidery machine. Join online communities, forums, or local embroidery groups to connect with fellow enthusiasts and gain inspiration.
Conclusion: Embarking on a machine embroidery journey opens up a world of creativity and self-expression. By following these essential steps and gradually honing your skills, you'll gain confidence and create beautiful embroidered projects.
Get a head start on your embroidery journey by signing up for this super informative course on how to get started with Machine Embroidery at Creative Fabrica!


1 comment
us digitizing
I’ve read your article. Honestly, I’ve never read this type of informative and efficient article before. This article will help lots of beginners like me to build skills in embroidery. Love to read your incoming blogs too. Really appreciate your work and dedication. We have us digitizing to fulfill your embroidery needs.